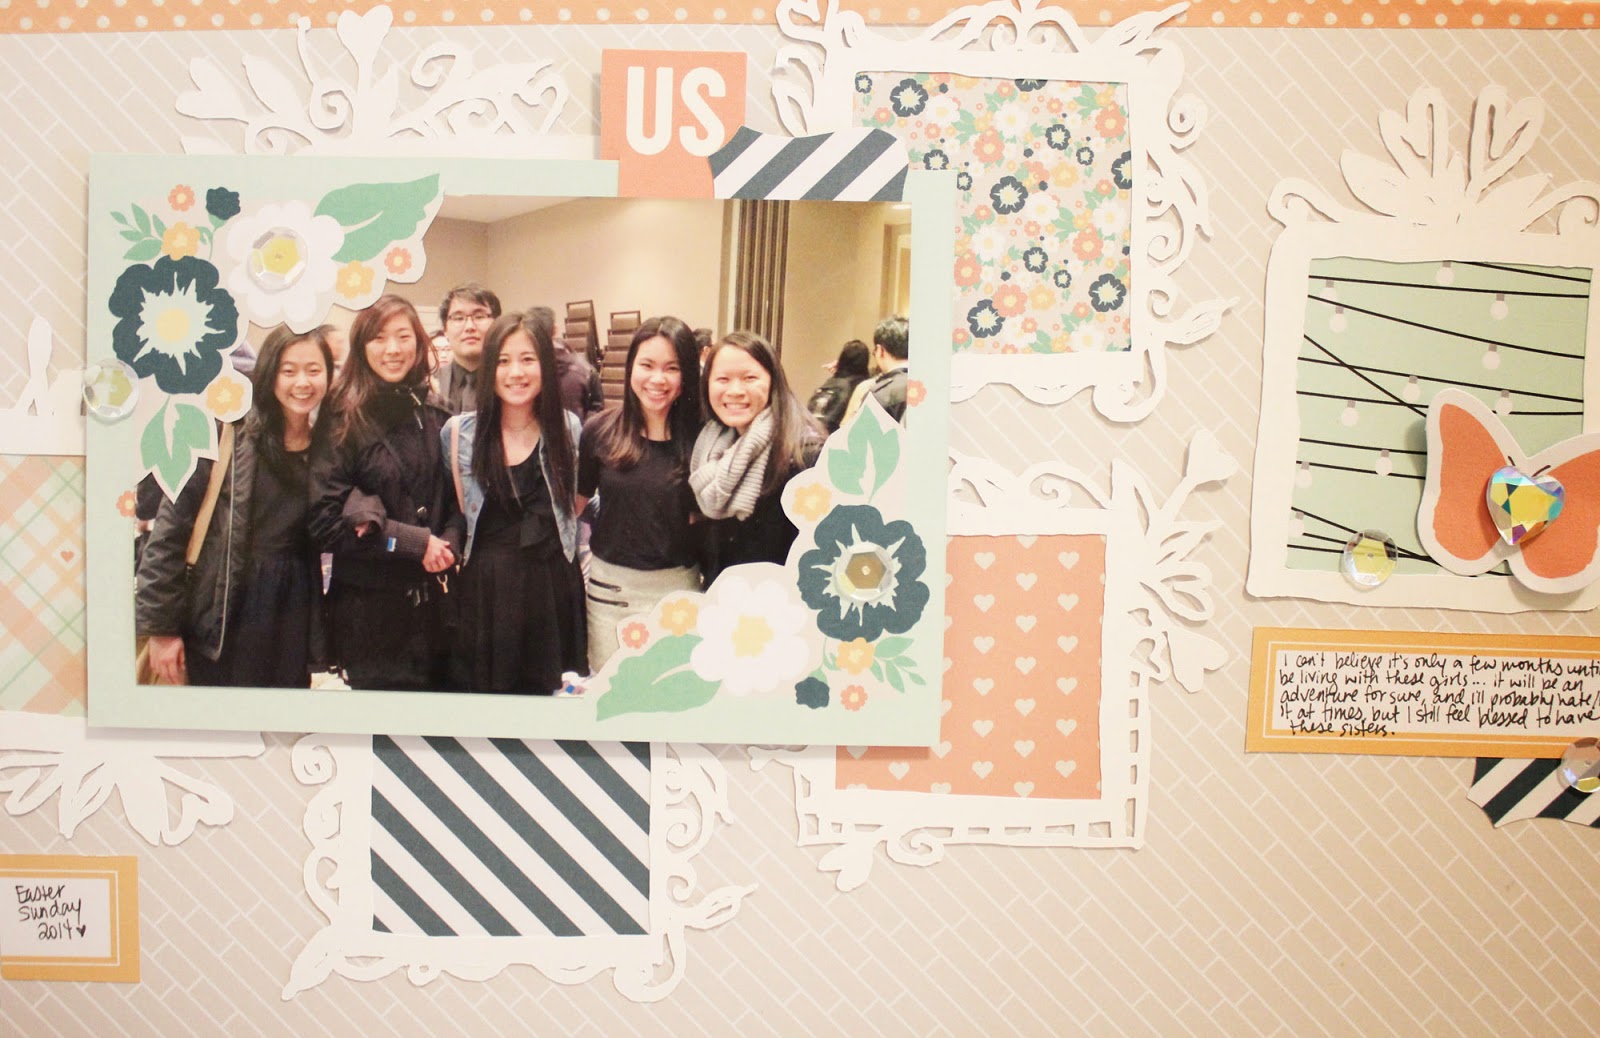
Hello there! Happy Tuesday :) Today I have a quick and easy step-by-step tutorial for you on how to make an interesting background using die cut frames.
To start with, choose a cut file or precut frames - I used these frames with pretty flourishes designed by Wilna Furstenberg for Two Peas in a Bucket. I love the feminine detail these frames have!
Next, choose some patterned papers that you'd like to fill the frames with. It helps to choose paper from a single collection here, so that it will all easily match. A 6x6 pad would be great, but I used this paper from Chickaniddy that has many different patterns that you can cut out. Since I don't do much pocket page scrapbooking anymore, this is a great way to use those cut aparts!
Matching each frame to a patterned paper, I cut a shape to go behind each frame and glued them down.
Then comes the assembling. I decided to do a partial background, but if you wanted to and had enough frames, I think this would be awesome covering a whole layout background.
Tip: Make sure you have parts of your frame going under your photo and even off the page. This creates the illusion that the frames continue behind the object and off the page, like a true background would.
Then you can embellish each frame if you want. I left most of mine empty because I thought the patterned papers and flourishes on the frame were pretty enough :)
I also really love these apartment building motifs in this collection - perfect since this is a layout about my future roomies!!
There is no time other than college where I will be living with FIVE other girls, so I guess I should embrace it and definitely document it :)
Before I finish today, I also wanted to feature a very awesome lady. You might have seen my post a few weeks ago with a tutorial for a Father's Day card - well, Angela saw it on Instagram and actually decided to try it out herself - and added her own little twist to it!
I just LOVE that she added gold to the design - gold just really makes everything better, and it turned out gorgeous! Thanks so much for trying out the card, Angela!! :)
Make sure to visit her on Instagram (@angela.mcleod) to check out more of her awesome work!
Until next time, happy crafting!
xx


 Hi! I'm Michelle :) I'm a graphic design and marketing student and lover of all things crafty. This is my blog to share my adventures and love of beautiful things. Welcome!


0 comments:
Post a Comment
Share your lovely thoughts with me :)